This no-bake protein balls recipe delivers a rollable, satisfying snack in about 10 to 15 minutes of active prep, no food processor required. The formula rests on five components: rolled oats, a runny nut butter, a liquid sweetener like honey or maple syrup, your protein powder of choice, and a mix-in for texture or flavor. Chill the dough briefly, roll it, and store it in the fridge or freezer whenever you’re ready, following standard meal-prep storage recommendations.
TL;DR:
- Use one-quarter cup of mix-ins such as chocolate chips or dried fruit to add texture without overwhelming the dough’s consistency.
- Refrain from skipping the refrigerating step, as at least 20 minutes of chilling ensures the dough becomes fully rollable and less sticky.
- Adjust the nut butter quantity gradually by adding one tablespoon at a time if the dough is crumbly or too dry, to achieve proper binding.
- Most protein balls contain between 9 and 13 grams of protein per serving, depending on nut butter, protein powder scoop size, and additional ingredients.
- To make vegan or nut-free versions, substitute nut butter with sunflower seed butter and ensure flavored powders are plant-based to prevent excessive sweetness.
Table of Contents
Protein Balls Ingredients: Quantities, Roles, and Swaps
A batch that makes roughly 20 balls starts with a short, dependable ingredient list. Every component earns its place, and once you understand what each one does, swapping ingredients gets easy.
-
1 cup rolled oats — the structural base; provides chew and bulk.
-
1/2 cup runny nut butter (peanut, almond, or cashew) — the primary binder and fat source.
-
1/3 cup honey or maple syrup — sweetens and helps everything stick together.
-
1/2 cup protein powder — boosts protein content and can add flavor.
-
1/4 cup mix-ins — mini chocolate chips, chia seeds, hemp hearts, or dried fruit for texture.
-
Pinch of salt — balances sweetness and sharpens flavor.
Oats supply the crumb, nut butter and sweetener hold it together, and protein powder does double duty as both a nutrition boost and a flavor carrier. For a vegan version, swap honey for maple syrup. Nut allergies? Sunflower seed butter works just as well as peanut or almond butter. Gluten-sensitive? Use certified gluten-free oats. If you want a smoother, more truffle-like bite, blend the oats to oat flour before mixing rather than leaving them whole. Prefer a date-based binder instead of syrup? That route needs a food processor to break the dates down into a paste, so it’s a slightly different method than the one-bowl version below.
How Do You Make No-Bake Protein Balls?
The technique is genuinely simple, and once you’ve made a batch, you won’t need to look at instructions again.
-
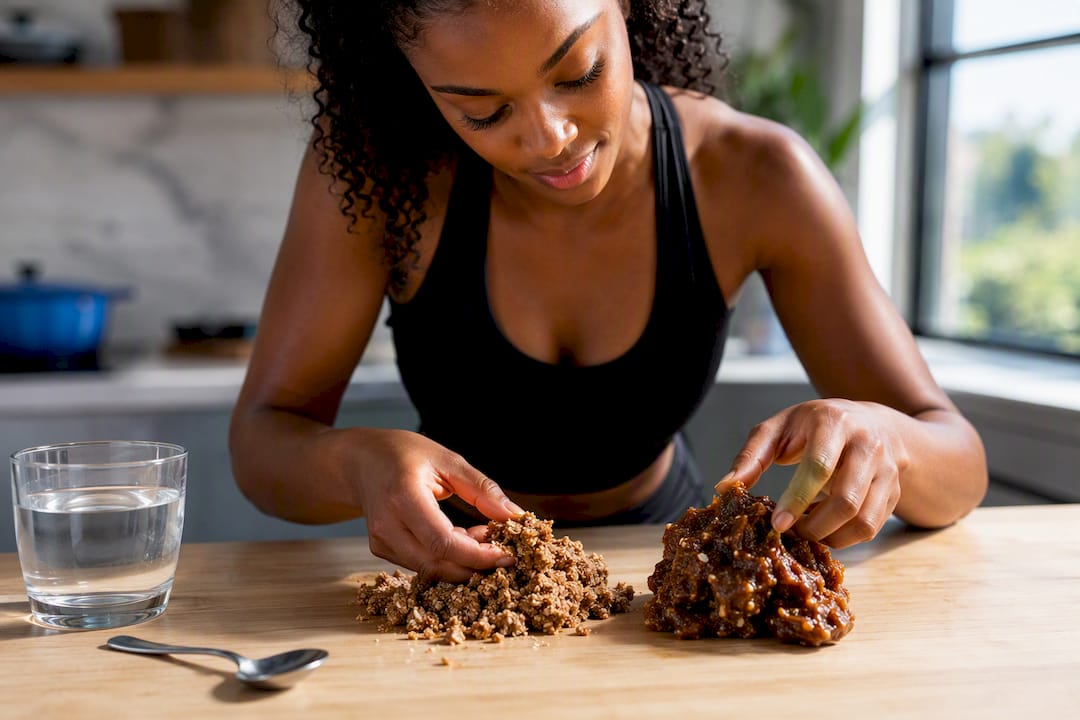
Combine wet ingredients first. In a mixing bowl, stir together the nut butter, honey or maple syrup, and protein powder until smooth.
-
Warm the nut butter if it’s stiff. Cold, thick nut butter is the number one reason doughs turn crumbly. A 15-second zap in the microwave loosens it right up.
-
Fold in the oats and mix-ins. Add these last so you can see exactly how the texture is developing.
-
Chill the dough. Refrigerate for 20 to 60 minutes. This isn’t optional. It gives the oats and protein powder time to hydrate, which is what makes the dough rollable instead of sticky.
-
Portion with a cookie scoop. A small spring-loaded scoop (about 1 tablespoon) keeps every ball the same size, which matters if you’re tracking protein per serving.
-
Roll and finish. Lightly oil your palms or dampen them with water to prevent sticking, roll each portion into a ball, then dip in melted chocolate or roll in shredded coconut if you want a finished look.
Total active time runs 10 to 15 minutes, plus passive chill time. If you’re using a date-paste binder instead of syrup, you’ll need a food processor to puree the dates first, then fold that paste into the oat mixture by hand the same way.
Pro Tip: Skipping the chill step is the single most common mistake home cooks make. Even 20 minutes in the fridge transforms a sticky, hard-to-handle dough into something you can roll cleanly in seconds.
Flavor Variations Worth Trying
Once the base technique clicks, building new flavors is mostly a matter of substitution. Here are four formulas that use the same 10 to 15 minute method.
-
Chocolate peanut butter: Standard base plus 2 tablespoons cocoa powder and mini chocolate chips.
-
Blueberry muffin: Swap in a scoop of Blueberry Muffin Protein, reduce added honey by a teaspoon since the powder is already sweetened, and fold in dried blueberries.
-
Banana pudding: Use Banana Pudding Protein in place of plain powder, add a pinch of cinnamon, and finish with a light dusting of crushed vanilla wafers.
-
Coconut-rolled buttercream: Mix in Buttercream Cupcake Protein, then roll the finished balls in shredded coconut instead of dipping in chocolate.
For nut-free versions of any variation, sub in sunflower seed butter at a 1:1 ratio. Vegan eaters should stick with maple syrup and double-check their protein powder is plant-based. When using a sweetened, flavored powder, always taste-test the dough before adding the full amount of honey. Flavored powders carry their own sugar, and skipping that adjustment is how batches end up cloying instead of balanced.
Why Is My Protein Ball Dough Crumbly or Too Sticky?
Texture problems almost always trace back to one of three culprits: cold nut butter, a high-absorbency protein powder, or skipped chill time.
-
Dough won’t hold together (crumbly): Add nut butter one tablespoon at a time until it binds, or knead the mixture by hand for a minute. The warmth from your hands softens the fats and pulls everything together.
-
Dough is too wet or sticky: Add oats one tablespoon at a time until the texture firms up.
-
Dough looks fine but won’t roll smoothly: You probably skipped the chill step. Give it 20 minutes in the fridge before trying again.
Protein powder type matters more than most recipes admit. Whey and casein blends tend to absorb less liquid than plant-based powders like pea or soy isolate, so if you switch powder types mid-recipe, expect to adjust your liquid slightly either way.
Pro Tip: If your dough seizes up after adding protein powder, stir in water one teaspoon at a time rather than more nut butter. It’s a lighter fix and won’t throw off the sweetness balance.
Storing and Freezing Protein Balls
Protein balls are meal-prep friendly by nature, and they hold up well for days or months depending on how you store them.
-
Refrigerator: Store in a single layer in an airtight container for up to 1 to 2 weeks.
-
Freezer: Freeze for a few months; separate layers with parchment paper so they don’t fuse together.
-
Packing for transport: Use parchment separators in a small container, or tuck a few into an insulated lunch bag for school or work.
-
Serving: Eat straight from the fridge, or let frozen balls thaw at room temperature for about 15 minutes before eating.
How Much Protein Is In Each Ball?
Most well-built recipes land in the 9 to 13 gram range per serving, and the exact number depends on three things: how much nut butter you use, the scoop size of your protein powder, and whether you’ve added hemp hearts or another protein-dense seed.
By the numbers: A standard batch delivers roughly 9 to 13 grams of protein per ball, with variation driven mostly by nut butter quantity and protein powder scoop size.
If you want to push a batch higher without wrecking the texture, add a tablespoon of hemp hearts, stir in powdered peanut butter alongside your regular nut butter, or use a full scoop of flavored or unflavored powder and adjust your liquid by a teaspoon at a time to compensate. Serving size matters for your goals, too. One or two balls work as a light snack, while three fits better as a post-workout recovery bite or a meal-replacement piece alongside other food.
Testing Notes From the Kitchen
Flavor-forward protein powders change how you build a recipe. When a powder already tastes like banana pudding or blueberry muffin, you need less added sweetener and fewer mix-ins to get a dessert-like result. That’s the appeal of testing with pre-flavored options: fewer ingredients, less guesswork, and a finished product that tastes intentional rather than like an afterthought stirred into plain oats. If you’re not sure which flavor fits your routine, a sample pack lets you test a few before committing to a full tub.
— Just
Boost Your Protein Balls With Flavor-Forward Protein
Justmovesupplements gives you a shortcut most no-bake recipes don’t: protein powders flavored enough to replace half your usual mix-ins, so you get dessert-level taste without dessert-level sugar.
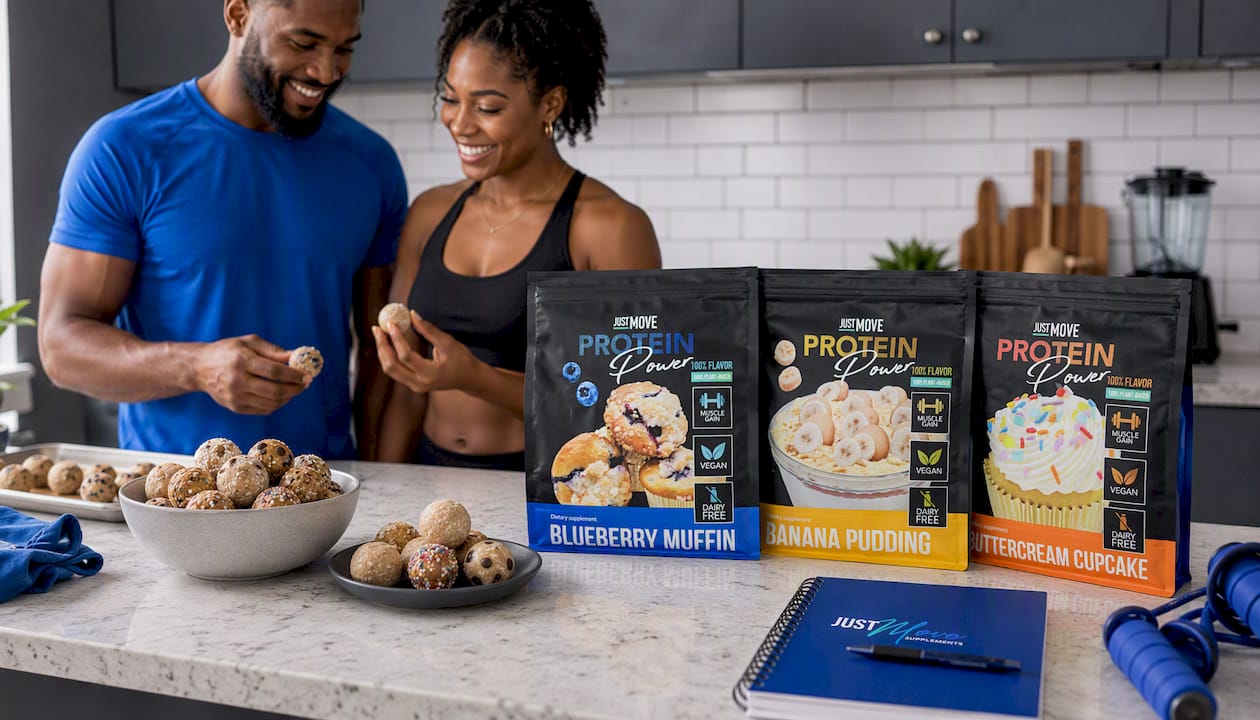
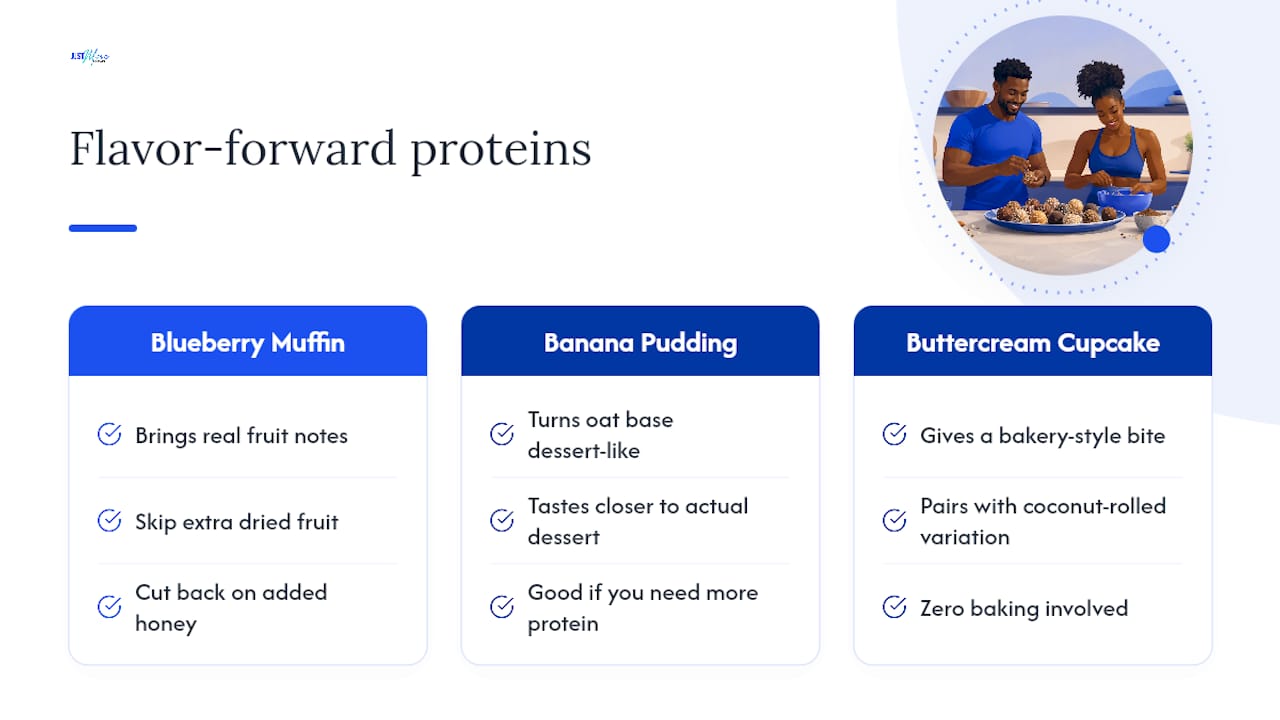
Blueberry Muffin Protein brings real fruit notes to a batch, so you can skip extra dried fruit and cut back on added honey. Banana Pudding Protein turns a plain oat base into something that tastes closer to an actual dessert, which makes it an easy pick for anyone who struggles to eat enough protein on a busy week. Buttercream Cupcake Protein pairs especially well with the coconut-rolled variation above, giving you a bakery-style bite with zero baking involved.
If you’re not sure which flavor fits your routine, start with a sample pack instead of committing to a full tub. It’s the lowest-risk way to find your favorite before you buy in bulk. Head to the Justmovesupplements product pages to browse flavors and place an order today.
Sources
For prep-time benchmarks and technique details, see Love and Lemons, iFoodReal, Wholesome Yum, and Lindsay Pleskot RD. For meal-prep pacing tips, check Wild Foodz.
Recommended


